How to Make Udon: A Step-by-Step Guide to Perfect Homemade Udon Noodles
Making udon noodles at home is surprisingly straightforward and yields soft, chewy noodles far superior to most store-bought options. To make udon, you need just a few simple ingredients: wheat flour, water, and salt. Mixing and kneading the dough properly, resting it, and rolling it out evenly are the keys to achieving the perfect noodle texture.
Udon is a staple in Japanese cuisine, prized for its smooth texture that holds up well in broths and stir-fries alike. Homemade udon allows you to control the noodle thickness and chewiness, resulting in a fresh taste and a satisfying mouthfeel. Its versatility means you can pair it with various broths, sauces, or toppings, making it an essential skill for noodle enthusiasts.
This guide covers everything from selecting the right flour to kneading techniques, resting times, cutting the dough into noodles, and cooking them just right. Along the way, you'll find tips to troubleshoot common pitfalls and understand how to customize noodle thickness for different dishes.
Ingredients and Equipment for Making Udon
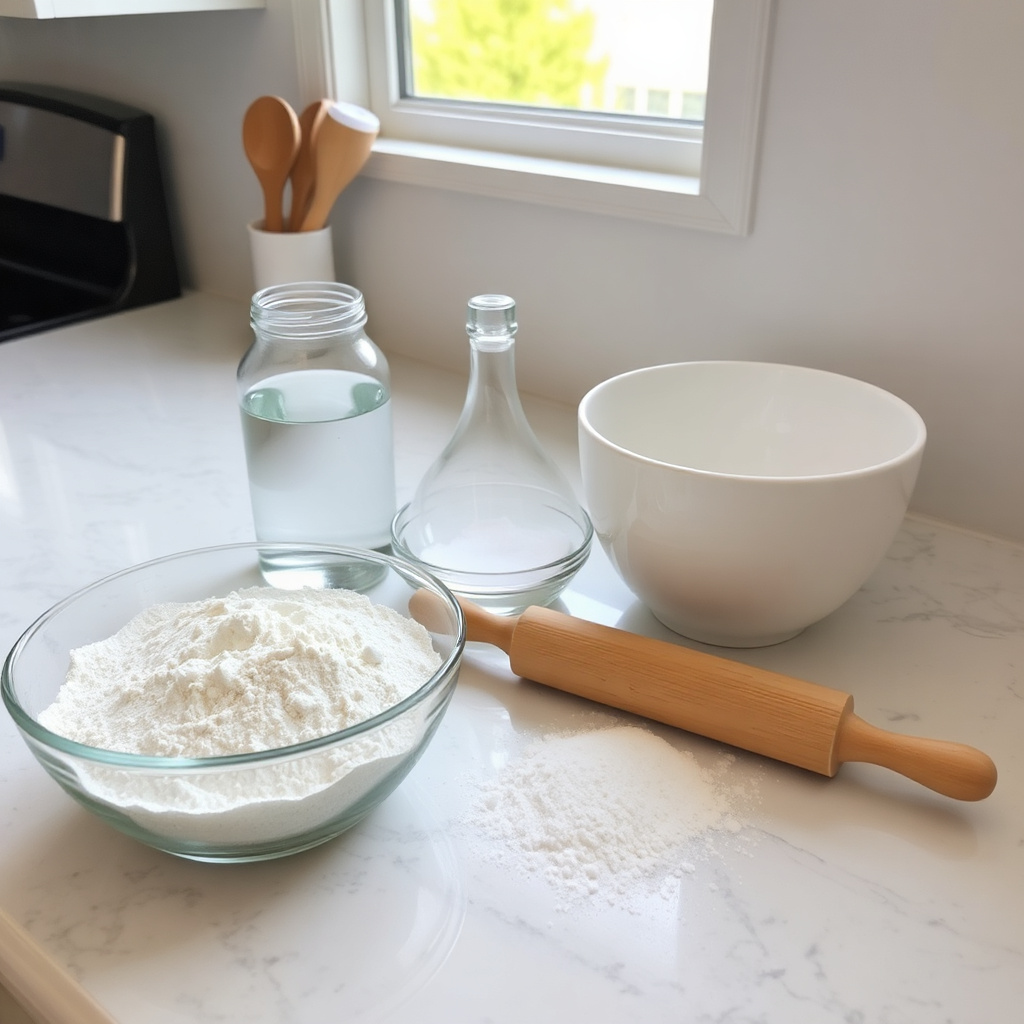
Choosing the Right Flour and Salt
For authentic udon noodles, use medium or high-protein wheat flour. This protein content helps develop gluten, which contributes to the noodle's chewy texture. Some recipes recommend bread flour or all-purpose flour, but a specific udon flour gives the best elasticity.
Salt is essential, not just for flavor but also because it firms up the protein network in the dough. Dissolve the salt in water first to distribute it evenly before mixing with the flour.
- Medium/high protein wheat flour (around 11-12.5%)
- Non-iodized salt for clearer dough
- Clean water at room temperature
Essential Kitchen Tools for Making Udon
A large mixing bowl and a sturdy surface for kneading are vital. A rolling pin that provides even pressure will help you roll the dough thinly and uniformly. A sharp knife or noodle cutter ensures clean edges when slicing the dough.
Additionally, a kitchen scale helps measure ingredients accurately, and a large pot is needed for boiling the noodles once cut.
- Mixing bowl
- Rolling pin
- Sharp knife or noodle cutter
- Kitchen scale
- Large pot for boiling
Making and Kneading the Udon Dough

Mixing the Dough Ingredients
Start by dissolving salt in water, then gradually add the flour while stirring to form a shaggy but cohesive dough. Use your hands to bring the mixture together into a ball. The dough should be firm but still pliable.
Avoid adding too much water at once; a slow addition allows you to control dough consistency better.
For more on this, see our related guide: How to Make Chow Mein: Easy Steps for Delicious Homemade Chow Mein.
Kneading for Gluten Development
Knead the dough by hand on a clean surface for about 10-15 minutes until it feels smooth and elastic. Kneading helps develop gluten that gives udon its characteristic chewiness. If the dough is sticky, sprinkle a little flour; if too stiff, sprinkle a small amount of water.
After kneading, shape the dough into a ball and wrap it tightly with plastic wrap or cover it with a damp towel to rest.
- Use heel of hand to push and fold dough
- Turn dough frequently to knead evenly
- Avoid over-flouring the surface
Resting and Rolling Out Udon Dough

Resting the Dough for Texture
Resting the dough for at least 30 minutes, or even up to an hour, relaxes the gluten and makes rolling easier. Some recipes suggest refrigerating the dough wrapped in plastic to improve the chewiness and prevent drying out.
This resting phase is crucial for manageable dough that doesn’t snap back while rolling.
Techniques for Rolling Udon Dough
Lightly dust your rolling surface and dough with flour to prevent sticking. Roll the dough evenly from the center outward, occasionally lifting and dusting both sides. Aim for around 1/8 inch (3 mm) thickness if you want classic thick udon noodles.
Try to maintain a uniform thickness to ensure even cooking later.
- Roll in multiple short strokes rather than one long stroke
- Rotate dough 90 degrees after several rolls for uniformity
Cutting and Cooking Udon Noodles

Slicing and Separating the Noodles
Fold the rolled dough lightly into thirds or quarters, dusting with flour between folds to prevent sticking. Use a sharp knife to slice noodles into your preferred width, typically between 1/8 to 1/4 inch wide.
Once cut, gently shake and separate the noodles before cooking to avoid clumping.
- Use swift, even cuts for clean edges
- Avoid over-dusting flour post-cutting to prevent tough noodles
For more on this, see our related guide: What Is Gyoza? A Complete Guide to This Popular Japanese Dumpling.
Boiling and Serving Fresh Udon
Bring a large pot of water to a rolling boil before adding noodles. Fresh udon cooks quickly—generally 8 to 12 minutes depending on thickness. Stir gently during cooking to stop noodles from sticking.
Drain and rinse briefly with cold water to stop the cooking process and remove excess starch. Serve in broth or stir-fry as desired.
- Use ample water to prevent sticking
- Check noodle texture frequently for preferred chewiness
Customizing Udon: Thickness, Texture, and Serving Ideas

Adjusting Noodle Thickness and Chewiness
You can tailor your udon noodles by rolling them thinner or thicker to suit your dish. Thinner noodles cook faster and are silky, ideal for light soups. Thicker noodles hold up to hearty broths and stir-fries better.
Resting time and kneading intensity also influence chewiness—longer kneading develops more gluten for a firmer bite.
- Thin: ~2mm, silky, cooks quickly
- Thick: ~4mm, chewy, hearty texture
For a thorough background and history of udon noodles, you can visit Udon noodles on Wikipedia. Udon noodles on Wikipedia.
Popular Udon Serving Styles
Udon is highly versatile: serve it hot in dashi-based broth with scallions for a traditional taste, or cold with dipping sauce in summer. Stir-fried udon with vegetables and proteins offers a quick, satisfying meal.
Toppings like tempura, egg, and seaweed add layers of flavor while keeping the udon noodles the star.
- Hot soup (kake udon)
- Cold dipping noodles (zaru udon)
- Stir-fried (yaki udon)
Homemade Udon Dough Types Comparison
Here is an overview of various dough consistency types commonly used for different udon noodle textures to help decide your preferred style.
| Dough Type | Flour to Water Ratio | Texture After Cooking | Best Use Case |
|---|---|---|---|
| Firm Dough | 5:2 | Chewy and dense | Stir-fried udon, hearty broths |
| Standard Dough | 5:2.5 | Balanced chewiness and softness | Everyday udon soups |
| Softer Dough | 5:3 | Tender and silky | Cold udon dishes, quick soups |
| High-Protein Dough | 5:2 | Extra elasticity and bite | Traditional thick udon noodles |
Frequently Asked Questions
Can I use all-purpose flour instead of udon flour?
Yes, all-purpose flour can be used to make udon noodles. However, it may yield slightly less chewy noodles compared to high-protein or specific udon flours.
How long should I knead udon dough by hand?
Kneading for about 10-15 minutes is recommended to develop enough gluten for a chewy texture without overworking the dough.
Do I need to rest udon dough before rolling it out?
Resting the dough for at least 30 minutes helps relax the gluten, making it easier to roll and less likely to shrink back.
How thick should I roll my udon noodles?
Typical udon noodles are rolled to about 1/8 inch thick (3 mm), but you can adjust thickness based on your preferred chewiness or recipe requirements.
How long do fresh udon noodles take to cook?
Fresh udon noodles generally cook in about 8 to 12 minutes depending on thickness. It's best to test for texture during cooking.
Key Takeaways
- Use medium or high-protein flour and dissolve salt in water for best dough texture.
- Knead thoroughly and rest the dough before rolling to develop chewiness.
- Roll dough evenly to your desired thickness for specific udon styles.
- Cook fresh udon noodles in plenty of boiling water and check for preferred doneness.
Conclusion
Making udon at home is both rewarding and accessible with a few essential ingredients and techniques. The process centers on preparing a balanced dough with the right flour and salt ratio, followed by kneading to build gluten for chewiness. Resting the dough sets the stage for smooth rolling and cutting, while attentive cooking delivers tender yet firm noodles. This method empowers you to craft noodles tailored to your texture preference, elevating your home-cooked Japanese meals authentically.
For those seeking tender, silky udon noodles ideal for cold dishes, opting for a softer dough with a higher water ratio can be beneficial. Conversely, firmer, chewy udon works well in stir-fries or richer broths, achieved by kneading longer or using high-protein flour. The flexibility to customize noodle thickness from thin to thick further personalizes your culinary creation. Mastering these elements lets you experiment with classic serving styles such as kake udon, zaru udon, or yaki udon, expanding your recipe repertoire.
If you are new to homemade noodles, start with the standard dough approach described here and adjust based on your preferences and cooking experience. Pay particular attention to kneading technique and dough resting, as these steps deeply impact final texture. Once comfortable, consider exploring flour blends or hydration tweaks to fine-tune your noodles. Homemade udon making offers gratifying results that transform simple ingredients into truly delicious dishes, so gather your tools, commit to the craft, and savor the process and flavors ahead.


One Comment